

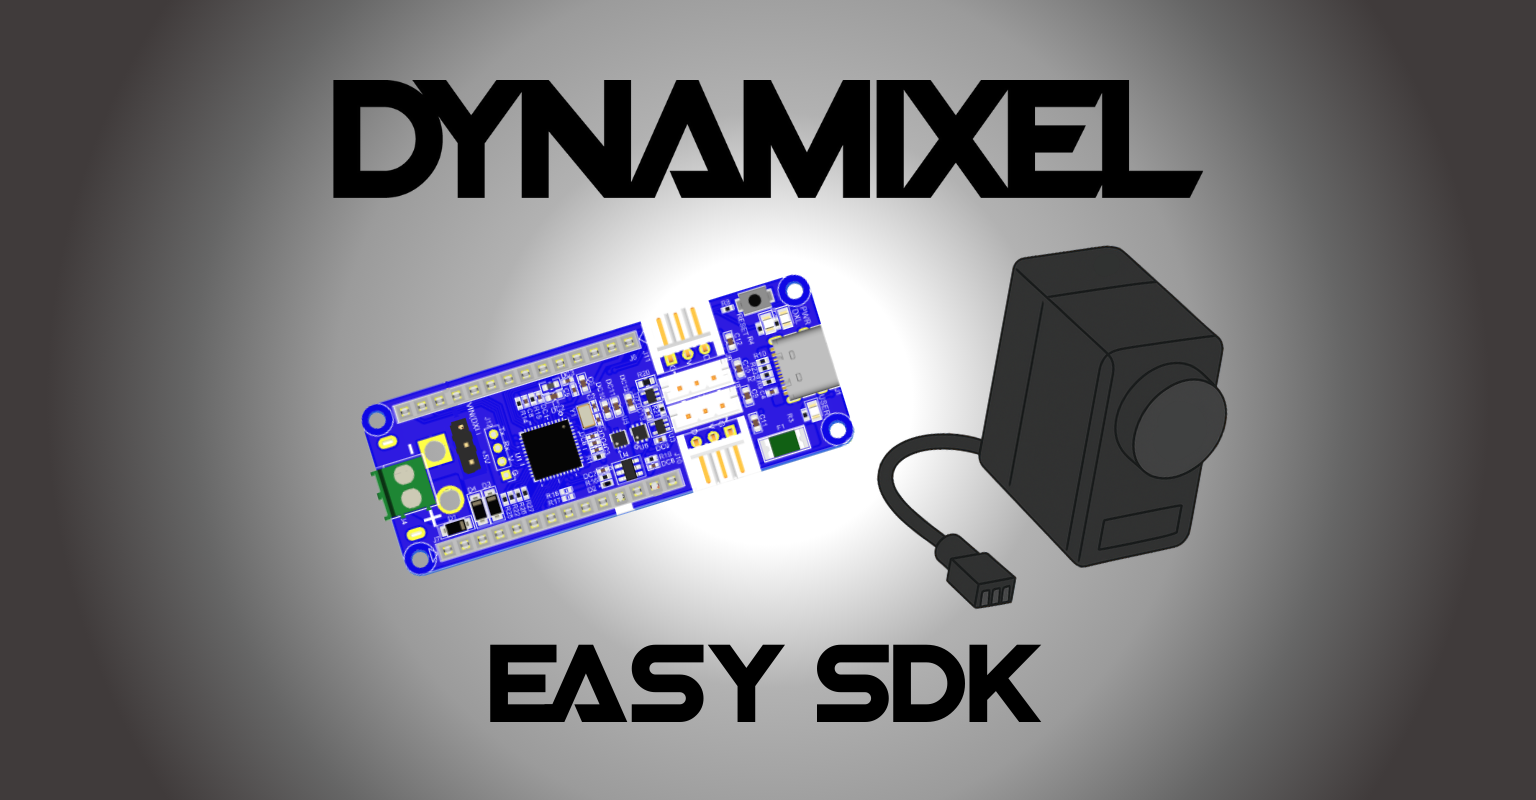
DYNAMIXEL Easy SDK: A Friendlier Way to Control Your Servos
Posted by Mason Knittle on 8th Dec 2025
The DYNAMIXEL Easy SDK is designed to make servo control approachable, even for users who have never touched a packet protocol or Control Table map before. Built directly on top of the official full DYNAMIXEL SDK, it provides a cleaner and more intuitive API that abstracts away the low-level details. It’s the same underlying communication engine, just wrapped in a simpler programming interface.
Jump To:
While the full SDK is extremely powerful, it requires knowledge of DYNAMIXEL internals. The Easy SDK eliminates much of this friction. Initializing a servo connection often takes just one or two lines, and issuing a command should feel like calling a function, rather than managing a communication pipeline.
In short, the Easy SDK is the friendlier layer that gets you up and running quickly, while the full SDK remains the complete, professional-grade toolbox. Think of the Easy SDK as the “quick-start driver” for most users, and the full SDK as the deep-level power tool for when you need absolute control.
Installation
Step 1) Before connecting your servos, ensure your PC or SBC (Windows, Linux, or macOS) has the DYNAMIXEL SDK installed. You can do this in a terminal like Command Prompt, Windows Powershell, or Ubuntu.
git clone https://github.com/ROBOTIS-GIT/DynamixelSDK.git
Install the SDK for Python:
cd DynamixelSDK/python
pip install .
Alternate option - Install using pip without cloning:
pip install dynamixel-sdk
These installation steps ensure that your system has the full capabilities of the official SDK before utilizing the simplified Easy SDK layer. Once installed, you can begin.
Step 2) Once your environment is set up, connect your DYNAMIXEL servos through a compatible interface such as U2D2 or OpenRB-150. Ensure each servo receives stable power from a compatible supply. Be sure the voltage matches the operating range listed in the e-Manual to avoid damaging your DYNAMIXEL.
python3
Copy and paste the following code into the Python shell:
from dynamixel_easy_sdk import *  # Leave this line as is
connector = Connector("/dev/ttyACM0", 57600)  # Change to your port and Baudrate
motor1 = connector.createMotor(1)  # Change to match your DYNAMIXEL ID

motor1.disableTorque()  # Disables Torque if on
motor1.setOperatingMode(OperatingMode.POSITION)  # Sets Operating Mode
motor1.enableTorque()  # Enables Torque

target_position = 2000  # Target position for actuator
motor1.setGoalPosition(target_position)  # Move Motor1 to target
Example Code
Once your first motor is moving, the next step is experimenting with more of the Easy SDK’s built-in functions. The goal of the Easy SDK is to keep your code readable: commands like setGoalPosition(), setVelocity(), or readPosition() are designed to feel natural even if you’re new to DYNAMIXEL.
from dynamixel_easy_sdk import * # Import everything from the DYNAMIXEL Easy SDK library, which provides simplified


connector = Connector("/dev/ttyACM0", 57600) # Create a connection to the DYNAMIXEL servo via the specified serial port and baud rate
motor = connector.createMotor(1) # Create a motor object representing the DYNAMIXEL servo with ID 1


pos = motor.getPresentPosition() # Read the current position of the motor from its sensors
print("Current Position:", pos) # Print the current position to the console
If you want deeper, step-by-step tutorials, ROBOTIS provides two official learning paths:
- Single Motor Tutorials — Perfect for beginners learning one actuator at a time, covering position control, velocity control, torque, and basic motion.
- Group Motor Tutorials — Ideal for multi-servo projects where synchronized motion, group commands, and coordinated behavior matter.
Understanding the Easy SDK API Reference
The DYNAMIXEL Easy SDK API Reference is the complete catalog of most functions, classes, and parameters available in the SDK. While tutorials show you how to do something, the API Reference shows you everything that is possible using the DYNAMIXEL Easy SDK.
This makes the API Reference essential when you’re building larger robotics projects, troubleshooting behavior, or trying to use features not shown in basic examples.
Core Components of the DYNAMIXEL Easy SDK, What They Are, & When to Use Them
| Component / Category | Role / What It Is | When / Why You Use It |
|---|---|---|
| Connector | The object that establishes and manages the communication channel between your PC / SBC (or controller) and the DYNAMIXEL bus / servos. In code you instantiate it with your port (e.g. “/dev/ttyACM0” or COM-port) and baud rate. :contentReference[oaicite:1]{index=1} | You always need it before doing anything with motors. Without a valid Connector, you cannot talk to any servo. It handles the low-level serial / packet-protocol communications, so you don’t have to manually open ports or manage bytes. Use it at the start of your program to “open the bridge” to DYNAMIXEL. |
| Motor (single-motor object) | Once Connector is active, you call something like `connector.createMotor(ID)` to get a Motor object, which represents a specific DYNAMIXEL servo by its ID. :contentReference[oaicite:2]{index=2} | Use this when you want to control or query a single servo: set its mode (position, velocity, torque), enable or disable torque, set goal position/velocity, read its current position or status, etc. Good for individual servo testing, calibration, or simple one-motor projects. |
| Group / Multi-motor features (via “group / bulk / sync” under the underlying SDK core) | Though Easy SDK simplifies high-level usage, under the hood it builds on the full DYNAMIXEL SDK, which supports “sync write/read”, “bulk write/read”, or “group sync/bulk” operations for multiple servos at once. :contentReference[oaicite:4]{index=4} | Use group / bulk / sync when you have more than one servo and want to command them simultaneously or read their states all at once. This is essential in multi-joint robots or projects where timing/coordination across servos matters. It saves time and communication overhead compared to commanding each servo individually in a loop. |
| Control Table / Data & Protocol Abstraction | Each DYNAMIXEL actuator has a “control table”, memory regions (addresses) that hold parameters and state (goal position, present position, velocity, torque enable, error flags, temperature, etc.). The Easy SDK (on top of the full SDK) abstracts away raw packet formatting, byte-packing/unpacking, and data-type conversions which let you use friendly methods instead of manually manipulating bytes. :contentReference[oaicite:5]{index=5} | This abstraction is useful for nearly all real-world uses: you don’t need to memorize addresses, data widths, or handle low-level protocol details. It reduces bugs, simplifies code, and lets you focus on motion logic rather than communication plumbing. Good for both beginners and experienced users who want reliable, clean code. |
Why This Modular Structure Matters
• Intermediate / advanced users benefit because the underlying SDK still supports powerful multi-motor sync and bulk operations, so it scales from single-servo tests to complex robots.
• Code stays clean, easy to read, maintain, and extend, especially important when projects grow or need debugging.
Frequently Asked Questions
▼ What are the environment requirements for using the DYNAMIXEL Easy SDK?
The Easy SDK runs on Windows, macOS, and Linux (including Raspberry Pi). You only need:
• Python 3.7+
• The full DYNAMIXEL SDK installed first
• A serial/USB interface such as U2D2 or OpenRB-150
• Proper permissions for the serial port (Linux/macOS)
After that, you can install the Easy SDK and run code immediately.
▼ Which products work well with the Easy SDK?
Compatible with nearly all TTL/RS-485 DYNAMIXEL actuators:
• XL Series (XL330, XL430)
• XM Series (XM430, XM540)
• X Series (XH, XC)
• MX Series (MX-28, MX-64, MX-106)
Also works with OpenManipulator, TurtleBot (DYNAMIXEL), and ROBOTIS MINI.
▼ Can I run the Easy SDK on a Raspberry Pi?
Yes, fully supported via:
• USB connection via U2D2
• GPIO UART using OpenRB-150 as a bridge
Install using pip install dynamixel-sdk and then the Easy SDK.
▼ Does the Easy SDK support daisy-chaining actuators?
Yes, daisy-chaining is native to all DYNAMIXEL buses.
Create motors by ID:motor1 = connector.createMotor(1)motor2 = connector.createMotor(2)
Then control them together using the Group Motor tutorials.
▼ Do I need the full DYNAMIXEL SDK installed first?
Yes, the Easy SDK relies on the full SDK for communication and control-table access.
▼ Can I mix Easy SDK functions and full SDK functions?
Yes, advanced users can use Easy SDK for setup while using full SDK for deeper control-table operations.
▼ Does the Easy SDK support synchronous multi-motor control?
Yes, supports Sync Write/Read and Bulk Read/Write for coordinated motion in multi-joint robots.
Getting Started Is Just the Beginning
The DYNAMIXEL Easy SDK is more than just a simplified interface, it’s a launchpad for creativity and experimentation. Whether you’re testing a single motor or coordinating a dozen for a complex robot, it gives you easy access to immediate feedback, reliable control, and the confidence to explore advanced behaviors without getting bogged down in low-level communication details.
As you continue your robotics journey, remember: the Easy SDK is designed to help you learn faster, prototype smarter, and iterate more freely. When you’re ready, you can dive deeper into the full SDK for fine-grained control or combine both layers to harness the full power of DYNAMIXEL actuators.
Start small, experiment often, and most importantly, have fun learning how to bring your robots to life.